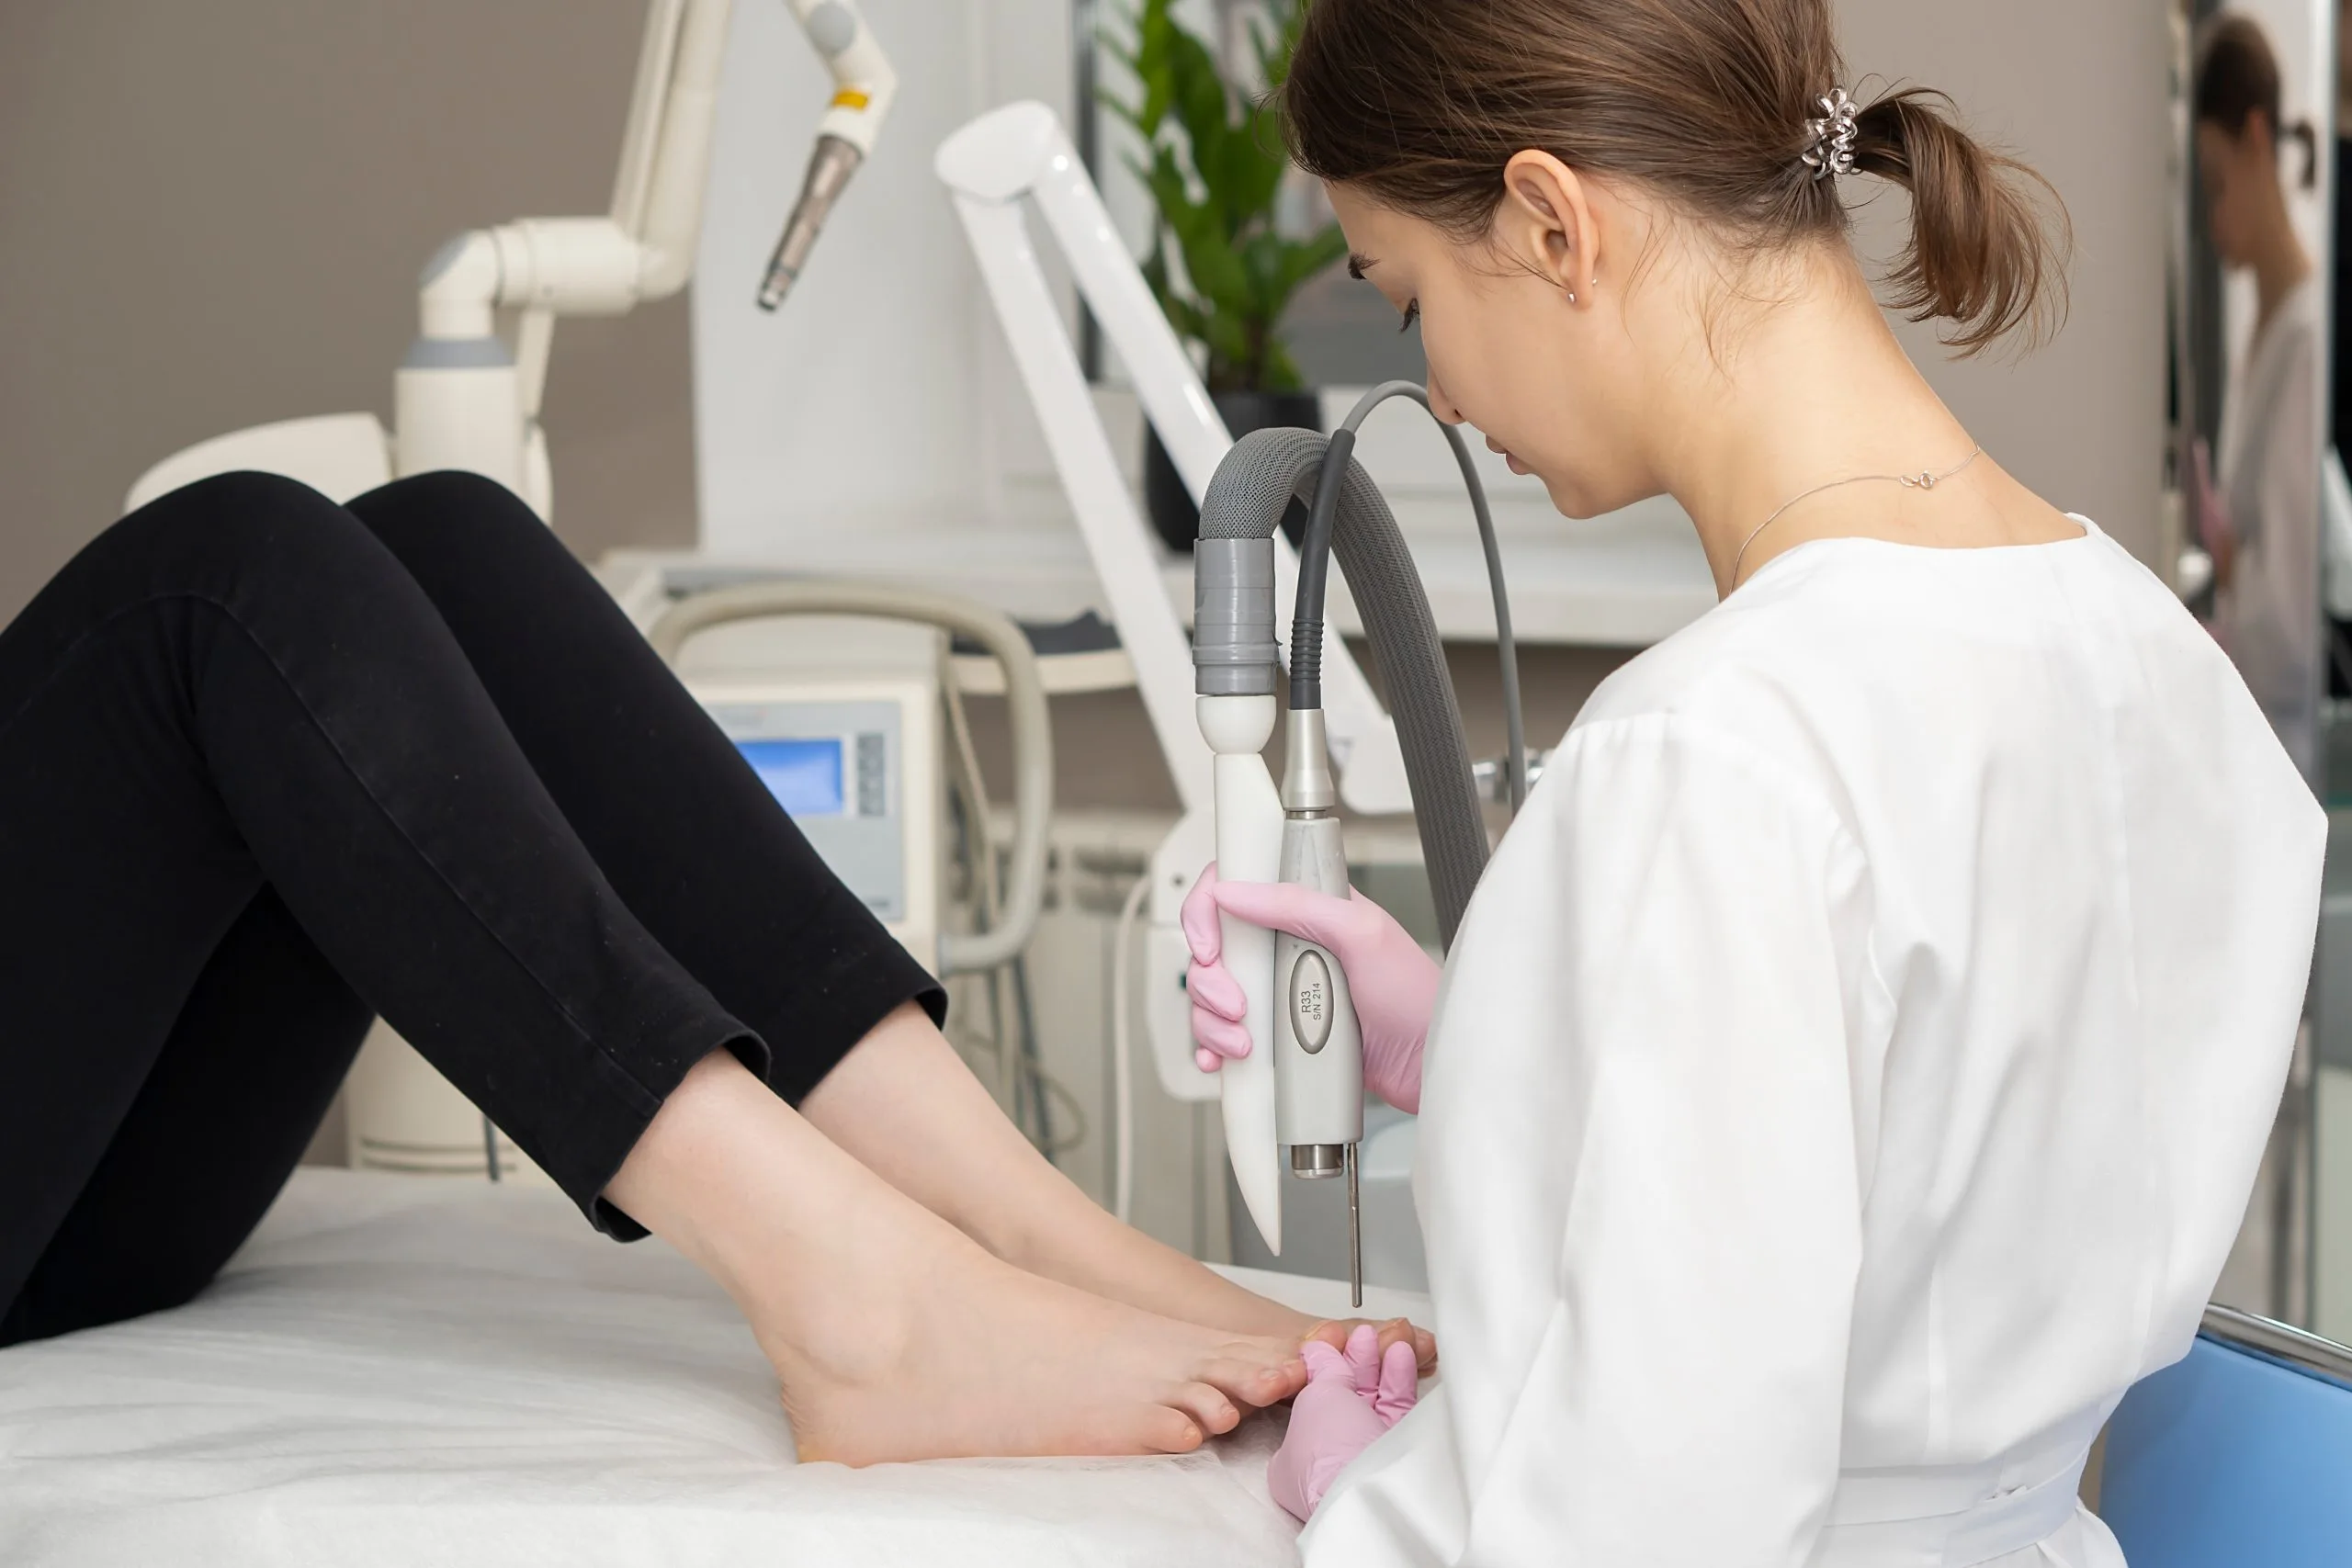
Proper aftercare is the single most important factor in clearing your infection and preventing it from returning. After your laser session, following a structured aftercare plan ensures you protect your results and enjoy clear nails again.
This guide walks you through exactly what to do – from the moment you leave our office through the months ahead – so you can maintain your results.
It’s important to set realistic expectations. Immediately after your laser session, you will not see a clear nail. The laser destroys the fungal organisms living in and under the nail, but the damaged, discolored nail that’s already there needs time to grow out. Toenails grow slowly – roughly 1 to 1.5 millimeters per month – so it may take 6 to 12 months, sometimes longer, before you see a completely clear nail. The first signs of clear growth will appear at the base of the nail (the cuticle area) within the first few months.
No Downtime: Laser nail fungus treatment is a walk-in, walk-out procedure. You can resume normal daily activities, including work and exercise, immediately. There’s no open wound, no bandage, and no recovery period.
Minimal Discomfort: Most patients feel a warming sensation during treatment. You may notice mild warmth or slight redness around the treated toenails, which typically fades within a few hours. There is no lingering pain.
Gradual Improvement: Healthy nail growth is a slow process. Patience and consistent aftercare throughout the entire growth period are key.
New patients should know that our team requires an initial evaluation with a podiatrist before laser treatment begins. This ensures the infection is accurately diagnosed and that laser therapy is the right approach for your specific situation.
The first 48 to 72 hours after your session set the tone for recovery. While there’s no surgical wound to manage, the treated area benefits from deliberate attention during this window.
Day of treatment:
Wear clean socks and shoes on the way home from your appointment. If you arrived in shoes you’ve worn frequently, consider bringing a fresh pair of socks to change into.
Wash your feet gently with mild soap and warm water that evening. Pat toenails dry thoroughly –c moisture is fungus’s closest ally.
Apply any topical antifungal product recommended by your podiatrist. Many patients receive specific instructions tailored to their infection severity.
Days 2 through 7:
Continue washing and drying feet twice daily – morning and night. Pay special attention to the spaces between your toes.
Apply topical antifungal medication as directed.
Spray the inside of all shoes you plan to wear with an antifungal shoe spray or powder. This step is easy to overlook but critical, because fungal spores survive inside footwear for months.
For an even more effective approach, consider investing in a UV shoe sanitizer. This device uses ultraviolet light to kill bacteria and fungi inside your shoes.
Wash all socks, towels, and bed sheets that have contacted your feet in hot water. Add a cup of white vinegar or an antifungal laundry additive to the wash cycle to help kill fungal spores.
Days 7 through 30:
Maintain daily foot hygiene habits and continue topical antifungal use for the full duration prescribed.
Discard old nail files, clippers, and emery boards. Replace them with new, sterilized tools.
Avoid nail polish on the treated nails for at least a few weeks, or as long as your podiatrist recommends. Polish traps moisture against the nail, creating an ideal breeding ground for fungus and making it impossible to monitor new growth.
Small daily habits make a measurable difference in whether fungus stays gone:
Dry your feet completely after every shower, bath, or pool visit. Pay special attention to the spaces between toes. If you have particularly sweaty feet, change your socks midday.
Rotate your shoes. Wearing the same pair two days in a row traps moisture. Give shoes at least 24 hours to air out between wears.
Use moisture-wicking socks made from synthetic blends or merino wool. Cotton socks absorb sweat and hold it against the skin.
Treat athlete’s foot immediately. Athlete’s foot and toenail fungus are caused by the same organisms. An untreated skin infection can quickly reinfect the nail. If you notice any itching, scaling, or redness on your feet, seek treatment right away.
Manage excessive perspiration. If sweaty feet are a persistent problem, discuss targeted treatment options at your next visit.
Be cautious in public areas. Always wear sandals or shower shoes in public gyms, locker rooms, swimming pool decks, and hotel bathrooms. Fungal spores live on warm, wet surfaces for weeks.
Practice careful pedicure hygiene. If you get professional pedicures, ensure the salon uses properly sterilized instruments for each client. Consider bringing your own tools. Avoid any salon that aggressively cuts or pushes back cuticles, as this can create an entry point for infection.
Manage related conditions. This is especially critical for patients with conditions that affect foot health, such as diabetic foot issues or circulatory problems, which make nails more vulnerable.
Your shoes create the environment your nails live in all day long. After laser treatment, choose footwear wisely:
Choose breathable materials – mesh, canvas, or perforated leather. Modern athletic shoes with mesh fabric are excellent. Avoid shoes made entirely of synthetic materials, such as plastic or vinyl, that don’t allow air to circulate.
Ensure a proper fit without crowding the toes. Tight toe boxes create warm, damp conditions fungi thrive in, and repetitive trauma makes nails more susceptible to infection. There should be about a half-inch of space between your longest toe and the end of the shoe.
Treat shoes regularly with antifungal sprays or UV shoe sanitizers.
If you use custom orthotics or insoles, remove them from your shoes nightly to let both the insoles and the shoe interior dry completely.
Depending on the severity of your original infection, your podiatrist may recommend follow-up laser sessions spaced several weeks apart. Most treatment plans at Foot HealthCare Associates involve a series of sessions rather than a single visit because multiple exposures increase the likelihood of eliminating all fungal organisms, including spores embedded deep in the nail bed.
Your podiatrist will outline a follow-up timeline during your initial evaluation. As a general guide:
4 to 6 weeks post-treatment: Assessment of early progress and determination of whether additional laser sessions are needed.
3 months post-treatment: Check for new nail growth, trim the nail, debride any remaining unhealthy nail material, and adjust topical antifungal use as needed.
6 to 12 months post-treatment: Final evaluation once the nail has had time to grow out fully.
If you notice signs of reinfection at any point – yellowing, thickening, or a chalky white appearance returning to the nail – schedule an appointment right away rather than waiting for your next planned visit. Early intervention is far simpler than treating a fully re-established infection.
Laser toenail fungus treatment aftercare is straightforward but requires patience and consistency. Keep your feet clean and dry, decontaminate your shoes, use prescribed topical antifungals, and attend every follow-up appointment. Toenails take months to grow out, so commit to the full timeline. By combining professional laser treatment at Foot HealthCare Associates with daily at-home care, you give yourself the strongest possible chance of clear, healthy nails that stay that way.

Don’t let foot and ankle pain keep you from living your best life.
June 18, 2026